
Upgrade T-shirts with Machine Embroidery
We’re very much excited to bring you great machine embroidery projects to make and there are lots of fun in the following weeks. This week we are going to make embroidered t-shirts.
One of my favorite parts of
sewing is the process and I really enjoy watching the progression unfold and then savor what my sewing efforts produce. Today I’m going to show you that the machine embroidery is the star of the process and the result of the ending result.
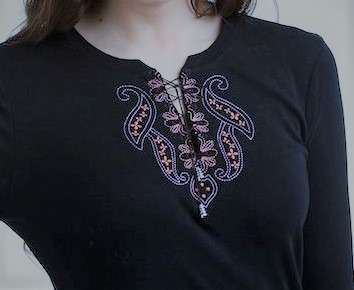
The embroidery (Machine Embroidery) designs you will see not only decorate but transform an everyday knitted shirt into a WOW shirt.
Preparing a T-shirt for Remaking
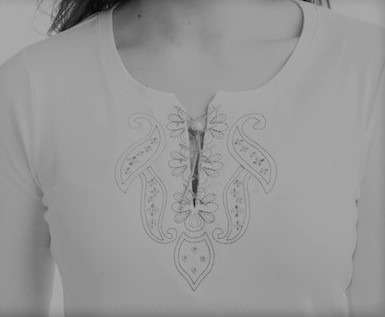
Once you give embroidery machine instructions, it’s very incredible what it can do and then start with a basic knitted T-shirt and after that, stitch your creative embroideries, plus embroideries that modify the neckline shape and then The result is so chic.
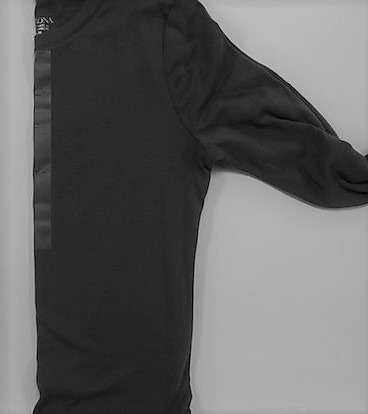
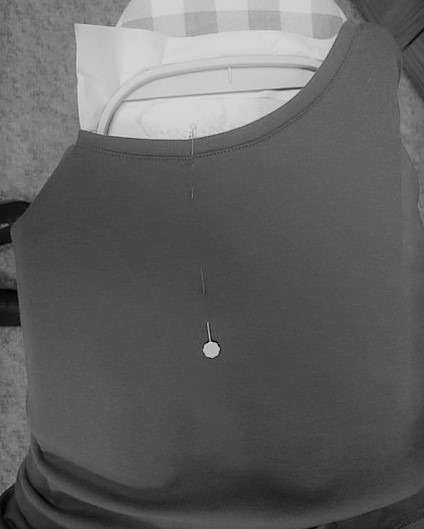
- Matching the shoulder seams, fold the shirt front in half.
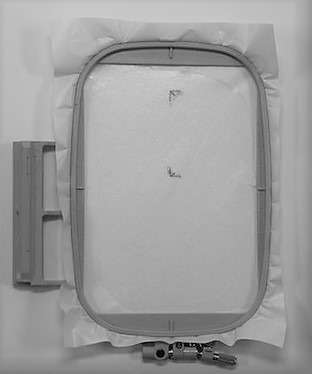
- Mark the center front with tape or pins. (Tape is featured in the photo below. Use whichever technique is best for you.)
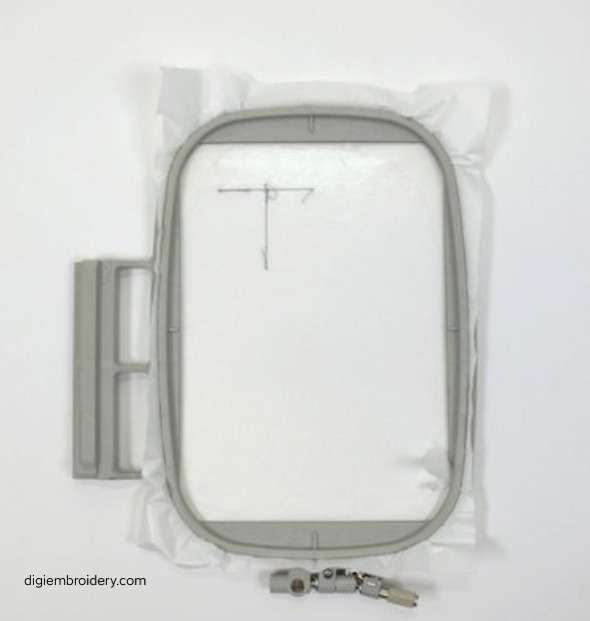
- Hoop a stabilizer (water-soluble adhesive) in a 5″ x 7″ hoop.
- Within the hooped area, score the paper of the stabilizer, with the tip of a pin or seam ripper then remove the paper covering.
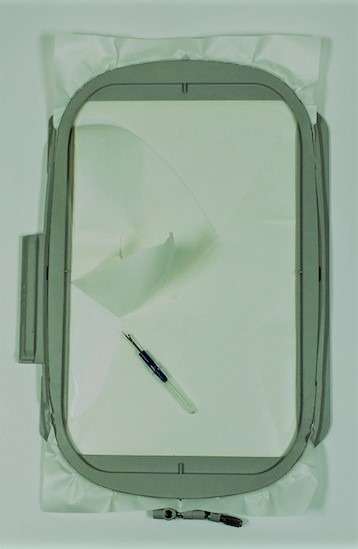
- On the stabilizer, stitch color 1 directly. The stitches (T-shaped) indicate the neckline and center front of the T-shirt.
- From the machine remove the hoop. At the point of the ironing board, With the top of hoop, place it on an ironing board ( at the narrow end).
- Place the shirt hem over the board and hoop then at the horizontal line align the shirt center with the vertical stitch line and the neckline.
- Onto the sticky-backed stabilizer carefully smoothes the fabric.
- After that nest the shirt above the hoop and then transport the hoop to the machine.
- Attach the hoop to the embroidery machine.
Stitch the Decorative Embroidery
- The tack down stitch, stitch color 2, a basting stitch that temporarily holds the stitching field in place and it will be easy to remove when the embroidery is complete.
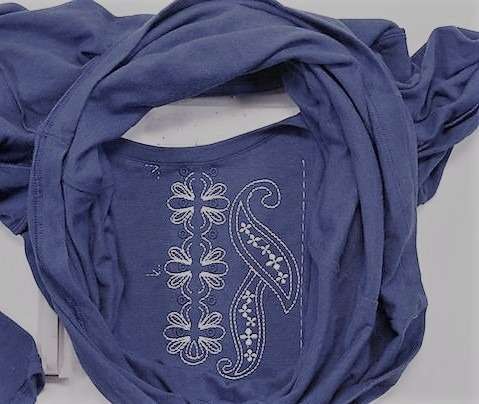
- The design and eyelets—colors 2–7, Stitch the decorative elements.
- Stitch the second to the last color (color 8) placement marks and then notice the placement marks to the left side of the T-shirt’s center front, so These marks are temporary, yet vital to aligning the next design.
Stitch the Neckline Transformation
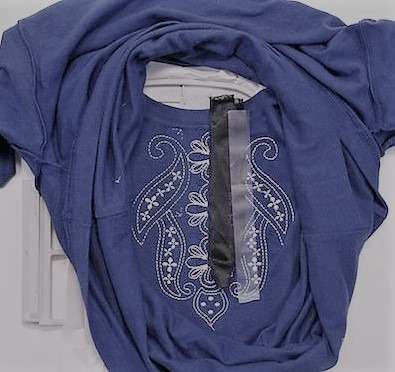
- Extending the interfacing ½″ above the ribbing, place a rectangle (6″ x 8″) of pre-washed tricot interfacing fusible side UP over the center of the shirt.
- Stitch the next thread color, which is the neckline transformation and then the stitching will be spot-on!
Rehooping the Shirt and Lining Up the Design
- Removing the hoop from the machine. Then remove the shirt from the hoop and trim away the excess stabilizer.
- Then hoop another layer of stabilizer (water-soluble adhesive) in the hoop.
- Score the paper of the stabilizer within the hooped area with the tip of a pin or seam ripper and then remove the paper covering.
- After that select the design (second one) of this embroidery and it’s must be a separate file.
- Right now onto the stabilizer, stitch the color 1 directly. This time the embroidery stitches must be two placement marks.
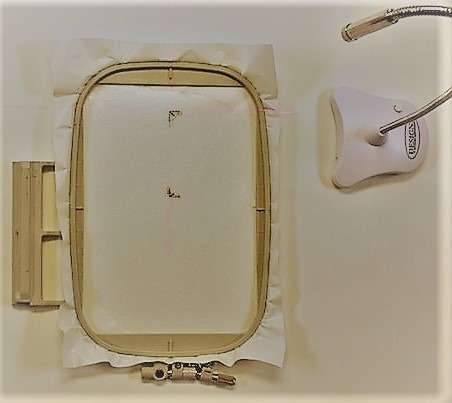
- Use PAL (Perfect Alignment Laser), to achieve perfect placement. Now place the hoop on a flat surface and turn on PAL.
- With the top horizontal mark and the vertical markings, align the beams.
- Over the stabilizer, place the shirt carefully.
- Using the beam of the laser as a guide, align the alignment marks on the t-shirt.
- Now one has to insert the hooped shirt back onto the unit of embroidery.
- Now tape the interfacing toward the stitched design because it will keep it out of the way of the embroidery.
- Then stitch the remainder of the next design.
- Now it’s must be removed. So, remove the hoop from the unit of embroidery. Also remove the hoop from the stabilizer.
- Another must work is trimming, so trim away the excess stabilizer and remove the stitches of basting of the tack down.

Neckline Finishing
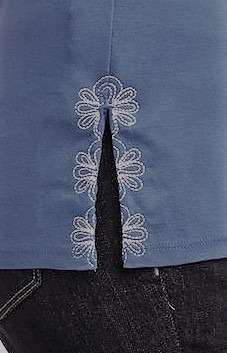
Makeovers of Side Hemline
Neckline is not the only area where makeovers can be seen and they (embroidery and transformation) are comparable to the technique of neckline.