Embroidery digitizing has come a long way in recent years. What was once a manual, time-consuming process has evolved into a sophisticated digital art form, thanks to advancements in technology and software. Whether you’re a business looking to create branded apparel or an artist aiming to convert unique designs into stitch-ready files, innovative digitizing techniques can help you take your embroidery to the next level. In this article, we’ll explore cutting-edge ideas in embroidery digitizing that can elevate your designs and give them a fresh, professional look.
Understanding the Basics of Embroidery Digitizing
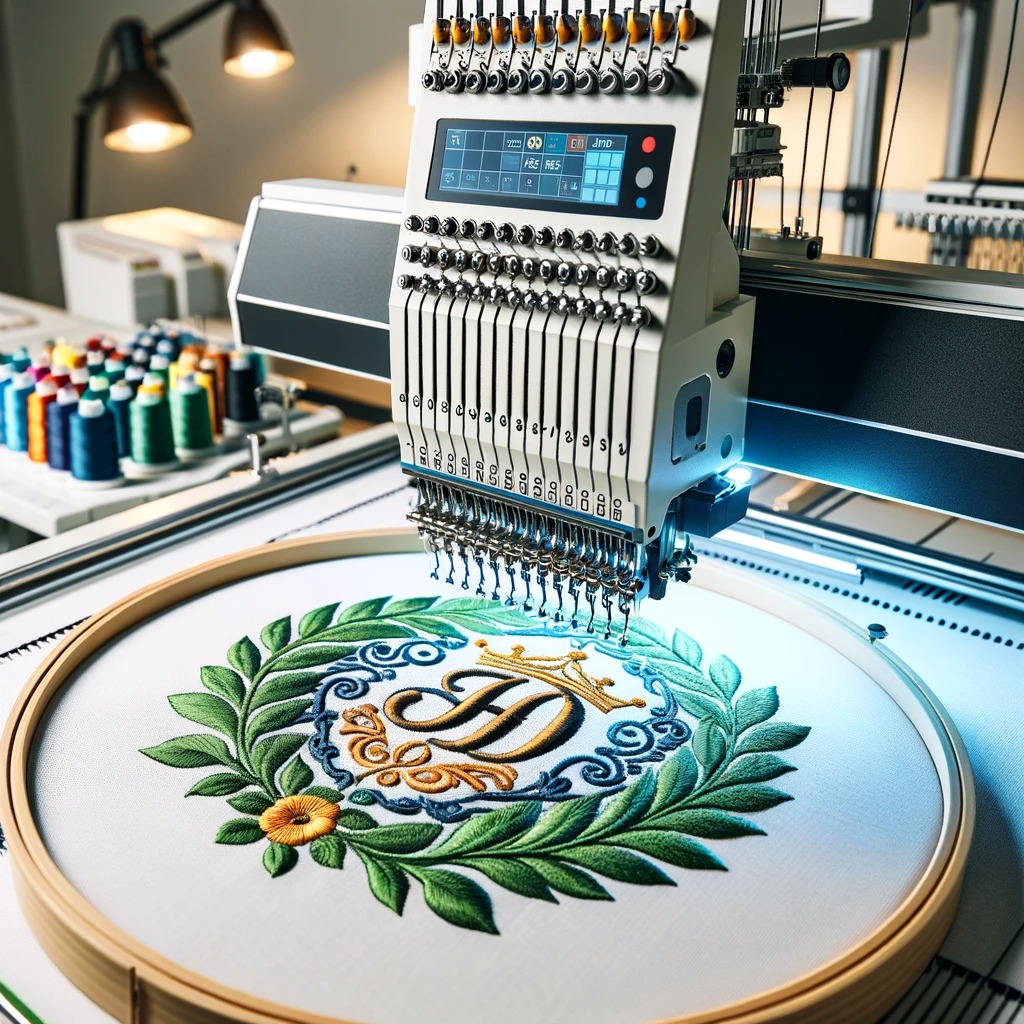
Before diving into the innovative ideas, it’s important to understand what embroidery digitizing entails. Embroidery digitizing is the process of converting artwork, logos, or images into a format that embroidery machines can read and execute. This requires specialized software to create a stitch map that guides the machine in reproducing the design on fabric.
Key elements such as stitch type, density, and direction are critical in determining how the final product will look. Now, let’s explore some innovative ideas that can enhance this process.
1. Incorporating 3D Puff Embroidery
3D puff embroidery has gained immense popularity in recent years, especially for creating bold, eye-catching designs on caps and apparel. This technique involves using foam under the stitches to create a raised, three-dimensional effect.
While 3D puff embroidery is traditionally used for large, blocky text, innovative digitizing ideas are pushing the boundaries. Designers are now experimenting with intricate patterns, logos, and even abstract art using this technique. By fine-tuning the stitch angles and densities, digitizers can create a variety of textures and effects, adding more depth and visual interest to the design.
2. Blending Multiple Stitch Types for Texture and Detail
A common misconception is that embroidery designs are limited to a single type of stitch. However, by blending various stitch types — such as satin, fill, and running stitches — you can add complexity and texture to your embroidery. This technique is particularly effective for creating realistic images or detailed artwork.
For example, using a combination of satin and fill stitches can give your design a layered appearance, adding richness and dimension. Similarly, blending shorter and longer stitches can replicate the look of brushstrokes in paintings or the rough texture of natural elements like wood and stone.
The trick is to use digitizing software that allows for precise stitch control, so every element of the design stands out.
3. Using Gradient and Color Blending Techniques
When thinking about embroidery, we often envision solid blocks of color. However, advanced embroidery digitizing software allows you to incorporate gradient effects into your designs, making them more dynamic and visually appealing. Gradient embroidery is created by adjusting stitch density and color changes to smoothly transition from one color to another. This is particularly useful for designs featuring landscapes, sunsets, or even brand logos that require a gradient effect for a modern look.
By innovating in this space, digitizers can replicate shading and depth that closely resemble hand-drawn or painted artwork. This technique allows for more versatility and creativity in design, providing that “wow” factor that sets your embroidery apart.
4. Utilizing Negative Space in Design
Negative space is a powerful design element that is often overlooked in embroidery. By strategically leaving areas unstitched, you can create bold, minimalist designs that make a statement. Negative space works particularly well for monochrome designs or when you want to highlight the natural texture of the fabric.
Digitizing negative space requires careful planning. You must ensure that the unstitched areas still complement the overall design and do not disrupt the fabric’s structure. However, when done right, the contrast between the embroidered and unembroidered sections can result in a striking, modern look.
5. Incorporating Metallic and Specialty Threads
While traditional thread types like polyester and cotton are widely used in embroidery, incorporating metallic and specialty threads can add a unique, innovative touch to your designs. Metallic threads, in particular, can make a design stand out by adding a shimmering effect, perfect for logos, monograms, or decorative elements. Specialty threads such as variegated or glow-in-the-dark can also elevate your embroidery to new heights.
However, using metallic and specialty threads requires specific digitizing adjustments. Metallic threads are thicker and can be more challenging to work with, so you’ll need to lower stitch density and avoid overly complex patterns. Despite these challenges, the visual impact is worth the effort, as metallic threads lend a luxurious, high-end feel to the final product.
6. Exploring Minimalist Line Art Designs
In contrast to intricate, highly detailed embroidery, minimalist line art is becoming a popular trend in the digitizing world. Simple line art designs, featuring clean, continuous lines, are easy to digitize and stitch, yet they offer a sleek, modern aesthetic. This style works particularly well for apparel, such as T-shirts or tote bags, where a subtle design can make a big impact.
Digitizing minimalist line art requires precision in setting up the stitch path to ensure smooth, continuous lines. The design must be well-planned to avoid jump stitches, which can disrupt the sleek look of the final product. By embracing the simplicity of line art, you can create elegant designs that are both trendy and timeless.
7. Creating Layered, Mixed-Media Embroidery
Another innovative trend in embroidery digitizing is the combination of embroidery with other media, such as screen printing, fabric appliqué, or even digital printing. This mixed-media approach allows you to create designs that are visually complex and textured. For instance, you could use digital printing to lay down a base layer of color or pattern, then use embroidery to add texture and dimension on top.
Digitizing for mixed media requires careful coordination between the different design elements. For example, when incorporating fabric appliqué, the digitized file must include precise placement stitches to ensure the fabric pieces align perfectly with the embroidered sections. This combination of techniques can give your designs a high-end, artistic look that stands out in the market.
8. Innovating with Micro-Embroidery
Micro-embroidery, or small-scale embroidery, is another emerging trend in the world of digitizing. This technique focuses on creating highly detailed, small designs — often as small as 5 millimeters in height — while maintaining clarity and precision. Micro-embroidery is particularly useful for monograms, small logos, and delicate designs that require a subtle, elegant touch.
Digitizing for micro-embroidery involves adjusting the stitch count and density to ensure that fine details are accurately represented without overwhelming the fabric. This technique opens up new possibilities for intricate, small-scale designs that were once difficult to achieve.


