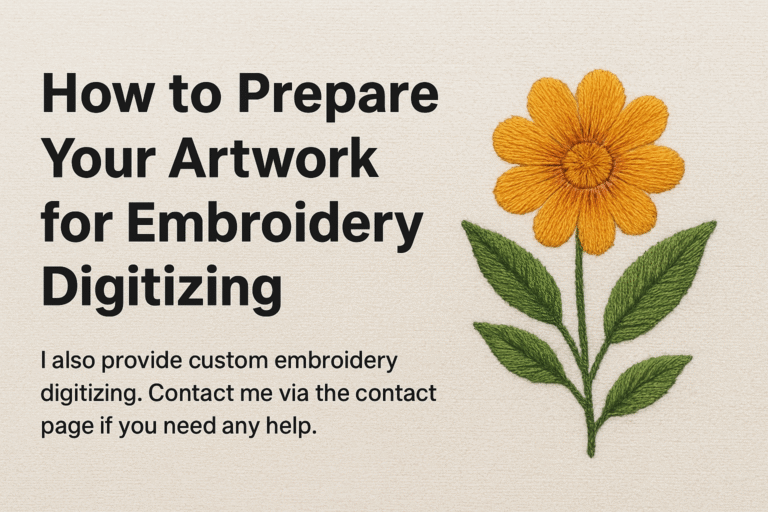
Embroidery digitizing is a crucial step in turning your creative artwork into a beautiful stitched design. Whether you’re a business owner, designer, or hobbyist, preparing your artwork properly can make a big difference in the final embroidery result. Clean, well-prepared artwork helps digitizers produce accurate stitch files, reduce production errors, and enhance the overall look of your embroidery. In this guide, we’ll walk you through the best practices for preparing your artwork for embroidery digitizing.
1. Choose the Right Artwork
Start with high-quality artwork. Vector files (like .AI, .EPS, or .SVG) are ideal because they allow for easy scaling without losing quality. If you only have raster images (.JPG, .PNG, or .BMP), make sure they are at least 300 DPI. Blurry or low-resolution images can cause issues in the digitizing process.
Tip: Simplify your design before sending it for digitizing. Embroidery machines cannot handle excessive fine details, so remove unnecessary elements.
2. Simplify Colors and Shapes
Embroidery threads come in a limited range of colors. Try to limit your design to 6–10 main colors for best results. Avoid gradients, tiny text, or complex shading that won’t translate well into stitches.
Tip: If your artwork includes color gradients, your digitizer can simulate shading using different stitch patterns and densities.
3. Adjust Line Thickness and Spacing
Lines that are too thin may not appear clearly once embroidered. As a rule of thumb:
Keep lines at least 1 mm thick.
Maintain a minimum spacing of 0.8 mm between design elements to avoid thread bunching.
Your digitizer can make professional adjustments, but starting with balanced artwork ensures better results.
4. Use Clear Fonts and Legible Text
Not all fonts are embroidery-friendly. Tiny or script-style fonts may look distorted when stitched. Choose bold, simple, sans-serif fonts for best clarity. For small text, block-style fonts like Arial Bold or Tahoma work well.
Tip: Minimum readable font size is around 0.25 inches (6 mm) in height.
5. Save and Send in the Right Format
When submitting your artwork for digitizing, save it in common file formats such as .AI, .PDF, .PNG, or .JPG. Include color references (like Pantone codes) if color accuracy is important.
If you are unsure about the format or need your design professionally prepared, you can always reach out to a digitizing expert.
6. Collaborate with a Professional Digitizer
Even the best artwork needs a skilled digitizer to convert it into a stitch file (like .DST, .PES, or .EXP). A professional digitizer understands fabric type, thread tension, and machine behavior — ensuring your final embroidery looks exactly how you envisioned it.
At Digi Embroidery, I offer custom embroidery digitizing services for logos, artwork, and apparel designs. If you’d like to get your artwork digitized professionally, feel free to contact me through the Contact Page.
7. Review and Test Stitch
Once your design is digitized, it’s important to test-stitch it on a sample fabric similar to the final garment. This allows you to catch small errors, adjust density, and fine-tune the appearance.
Tip: Always check how your design looks on both light and dark fabrics, as thread colors may appear differently.
Conclusion
Preparing your artwork carefully before embroidery digitizing saves time, reduces editing costs, and ensures a professional finish. By following these simple steps, you’ll make your digitizer’s job easier and your final embroidery much more impressive.
If you’re ready to turn your artwork into stunning embroidery, contact Digi Embroidery today for high-quality, custom digitizing services!
Share this:
- Click to share on X (Opens in new window) X
- Click to share on LinkedIn (Opens in new window) LinkedIn
- Click to share on Tumblr (Opens in new window) Tumblr
- Click to share on Facebook (Opens in new window) Facebook
- Click to share on Pinterest (Opens in new window) Pinterest
- Click to share on WhatsApp (Opens in new window) WhatsApp
- Click to share on Reddit (Opens in new window) Reddit


